A winter idea
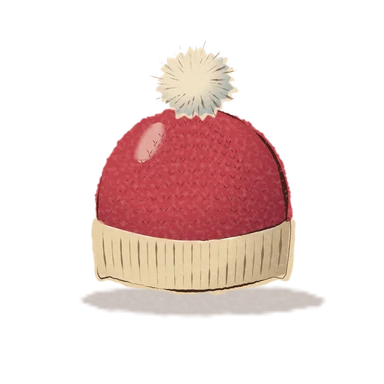
Knit a beanie
an evening · cozy inside · under $20 · Updated
A beanie is a great first knit: knit it in the round with chunky yarn and it's done in a few evenings. Wear it the day you finish.
- Time
- an evening
- Where
- cozy inside
- Who
- solo-friendly
- Cost
- under $20
What you need
- Chunky yarn
- Circular needles in the size on the label
- A beginner pattern
A beanie is a tube with a closed top, which makes it a friendly first project once you can cast on and knit. With chunky yarn the stitches are big and easy to see, so the hat grows quickly and a few evenings is enough. This guide covers the parts patterns tend to rush past: sizing, ribbing and shaping the crown.
Choosing yarn and checking the size
Pick a smooth, light or mid-tone chunky yarn so you can see each stitch. Wool and wool blends are warm and stretchy. If wool itches, a soft acrylic is fine. The yarn label gives a suggested needle size and how much is in each ball. One or two balls is often enough for an adult hat, but your pattern will say.
Before casting on, measure around your head where the hat will sit. Knit fabric stretches, so a hat is meant to be a little smaller than your head. Choose a pattern whose finished size is an inch or two under your measurement.
What to bring, beyond the list
- A stitch marker (or a loop of contrasting yarn) to mark the start of each round.
- Scissors and a blunt tapestry needle for finishing.
- A tape measure.
- Double-pointed needles, if your pattern uses them for the crown. Some patterns use a long circular needle instead.
How to knit a beanie
- Swatch if you can. Knit a small square in your yarn and measure how many stitches fit in four inches (10 cm). More stitches than the pattern says means going up a needle size. Fewer means going down.
- Cast on the number in your pattern onto a 16-inch circular needle, with the needles in the size on your label, in US sizes with mm in brackets, such as US 10.5 (6.5 mm).
- Check the stitches are not twisted around the cable. They should all sit with the cast-on edge facing the same way, toward the inside of the circle.
- Join in the round. Place your marker, then knit the first stitch to close the circle, pulling the yarn snug so there is no gap. From here you are knitting a spiral with no turning.
- Knit the ribbing. Work knit 1, purl 1 (or knit 2, purl 2) every round for about an inch and a half. Ribbing is stretchy and hugs the head, so the brim stays put.
- Knit the body. Knit every round. This gives smooth stockinette. Keep going until the hat measures about what the pattern says, usually around 6 to 7 inches from the cast-on edge.
- Shape the crown. Follow your pattern for the decreases. Usually you knit two stitches together at set points around the round, with plain rounds in between, so the circle closes in step by step. Switch to double-pointed needles, or the magic loop method, when the stitches no longer reach round the cable.
- Close the top. When about eight stitches remain, cut the yarn with a long tail, thread it through the live stitches with the tapestry needle, pull tight and fasten off inside.
- Weave in the ends, then add a pom-pom if you like.
What goes wrong
- The join twisted. You will need to undo the first round and cast on again. Lay the stitches flat before you join next time.
- It looks huge on the needle. Knitting always looks bigger there. Try it on, and if it is still loose, cast on fewer stitches or go down a needle size.
- Ladders between needles. Pull the first stitch on each new needle a little tighter.
- You lost your place. Look for the marker and the yarn tail. A row counter, or tally marks on paper, saves a lot of unpicking.
- The crown puckers. A little puckering at the top is normal and softens when you wash it.
Finishing and looking after it
Wash following the yarn label. Many wool hats do best washed by hand in cool water and dried flat. If the shape is a little off, pat it into place while damp. Then wear it the day you finish.
Make it a winter evening
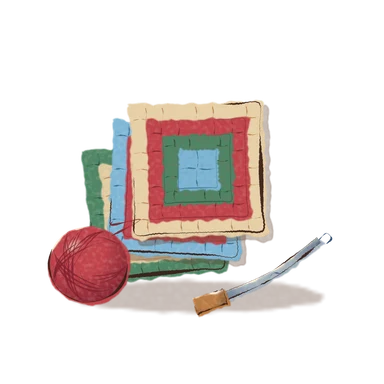
Put on a holiday movie and knit the ribbing first, since it is the slowest part. When the beanie is done and you have yarn left over, a few granny squares will use it up.
Questions
What size needles do I need to knit a beanie?
Start with the size printed on the yarn label. For chunky yarn that is often somewhere around US 10 to 11 (6 to 8 mm). For the body of the hat, use a circular needle with a 16-inch cable.
How many stitches do I cast on for a beanie?
It depends on your yarn and your tension, so follow your pattern. With chunky yarn, an adult hat often starts around 60 to 80 stitches. A small swatch first tells you whether your stitches match the pattern's.
Can I knit a beanie without circular needles?
Yes. Knit it flat on straight needles and sew up the side seam. It is a good choice if you have never knit in the round. The ribbing and the crown work the same way.
Why is my beanie too loose or too tight?
Everyone's tension is a little different, so your stitches may be bigger or smaller than the pattern expects. Compare the pattern's finished size with the measurement around your head, then cast on more or fewer stitches. Knit hats stretch, so a snug fit is usually right.
Did it? Keep a stamp for it.In the Seasons app, you mark an idea done and it lands in your winter passport. Seasons opens on mobile in November.
Join the waitlist