A winter idea
Cut paper snowflakes
10 minutes · cozy inside · free · Updated
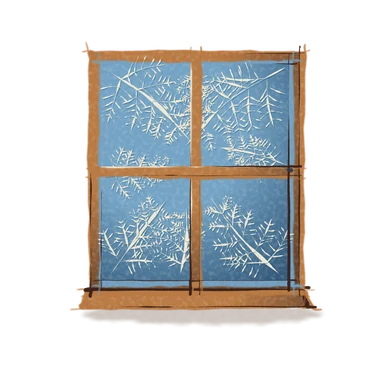
Fold a square of paper into a narrow triangle, snip shapes out of the edges, and unfold it. Tape them to the window.
- Time
- 10 minutes
- Where
- cozy inside
- Who
- solo-friendly
- Cost
- free
What you need
- Printer paper
- Sharp scissors
- Tape
A paper snowflake is a square of paper, a few folds and some snipping, and no two come out the same. You can make one in a few minutes with things already in a drawer. It works whether or not it snows where you live, and a window fills up fast.
Choosing paper and a place to work
Printer paper is the easy default. Thin paper folds more times without getting bulky, and thicker paper holds its shape. Coffee filters, tissue paper and baking parchment all work too. Sit at a table with good light and a surface you don’t mind cutting near.
Sharp scissors matter. Blunt ones crush the layers instead of cutting them, and the edges come out ragged. Small scissors with a pointed tip are easiest for tiny cuts.
What to bring, beyond the list
- A pencil, if you like to draw your cuts first.
- A heavy book or two, for flattening the finished snowflakes.
- A bowl or trash can for the snippets, which get everywhere.
How to make a paper snowflake
- Make a square. Fold one corner of a sheet of printer paper down to the opposite edge so it forms a triangle, then cut off the leftover strip. Unfold and you have a square.
- Fold it in half corner to corner, into a triangle, with the long edge at the bottom.
- Fold it in half again, bringing one bottom corner to the other, into a smaller triangle.
- For six points, fold into thirds. Fold one side of the triangle over toward the middle, about a third of the way, then fold the other side over it. You end up with a narrow wedge. For a simpler eight-point snowflake, skip this step and fold the triangle in half once more.
- Trim the top straight or in a curve so the edge is even.
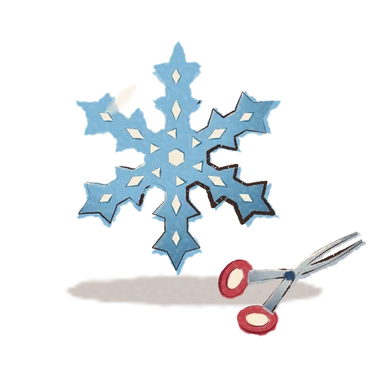
- Cut shapes out of both long edges: triangles, half-circles, slits and notches. Leave some paper between the cuts so the snowflake stays in one piece.
- Unfold slowly, one layer at a time, because thin paper tears easily.
- Flatten and hang. Press it under a heavy book, then tape it up.
What goes wrong
- It falls apart in pieces. A cut went all the way across a fold. Leave a little paper at each fold so the pieces stay joined.
- It is too bulky to cut. There are too many layers. Use thinner paper, or fold fewer times.
- It looks like a blob. Make fewer, larger cuts. Big triangles and curves read better than many tiny snips.
- The creases won’t flatten. That’s normal. Press it under books, or use a cool iron between two sheets of paper.
- It tore when unfolding. Open from the centre outward, slowly, and tape the tear on the back.
Using what you made
Tape the snowflakes to a window with a small loop of tape on the back, staggered at different heights so they look scattered. You can also thread them on string as a garland, glue one on a card, or use them as gift tags. Low-tack tape is kinder to paint, especially if you rent.
Ways to vary it
- Change the size. A square cut from a larger sheet gives a bigger snowflake with room for finer cuts, and a small square makes a tiny one for a gift tag.
- Change the paper. White is classic, but pale blue, silver or patterned paper looks lovely against dark glass. Coffee filters give a soft, lacy effect.
- Change the cuts. Try only straight snips for a geometric look, or only curves for a floral one. Cut the folded edge as well as the open ones.
- Make a set. Cut several in different sizes and hang them at different heights so the window looks like falling snow.
- Add a pattern. Fold two or three sheets at once, if the paper is thin, and cut them together to make matching snowflakes.
Make it a winter evening
Ten minutes is enough, so make one whenever you have a gap. Put some music on and cut a handful while the light fades. When the window is full, see if you can catch the day of the first snow and compare yours with the real thing, or look at snowflakes up close.
Questions
How do you make a six-pointed paper snowflake?
Real snowflakes have six arms, so folding the paper into sixths gives a more realistic shape. Fold a square into a triangle, fold that in half, then fold it into thirds and trim the top. Folding into quarters, as many people do, gives eight points.
What kind of paper is best for paper snowflakes?
Printer paper is the easy default. Thinner paper is easier when you fold many times, and thicker paper holds crisper shapes with fewer folds. Coffee filters, tissue paper and baking parchment also work.
How do I get paper snowflakes to lie flat?
Press them under a heavy book for a few hours. If the creases stay, press them gently with a cool iron between two sheets of paper, after checking your paper can take the heat.
How do I hang paper snowflakes?
Use a small loop of tape on the back, or thread a piece of thread through one point. Tape on a window is easiest, and low-tack tape is gentler on paint and wallpaper.
Did it? Keep a stamp for it.In the Seasons app, you mark an idea done and it lands in your winter passport. Seasons opens on mobile in November.
Join the waitlist